Welcome to my very first tutorial!!! I was searching for a pattern for a new spring-y table runner and just couldn't find one that suited the fabric I purchased. So, I made one myself!!
The completed runner measures 11" x 55". You can add or omit some blocks to make yours the right size for your table.
I chose four print fabrics and a crisp white. These fabrics are from the Fresh From the Garden line by M'Liss. You will need about a half yard of each.
 |
| Fabrics |
For each pinwheel block you will need:
2- 5 7/8" squares print
2- 5 7/8" squares white
For the rail blocks you will need:
2- 5 1/4" x 10" print
2- 5 1/4" x 10" different print
Sashing:
6- 1 1/2" x 10 strips
2- 1 1/2" x 54" strips
Backing & Batting:
14" x 56"
 |
| Half-Square Triangles |
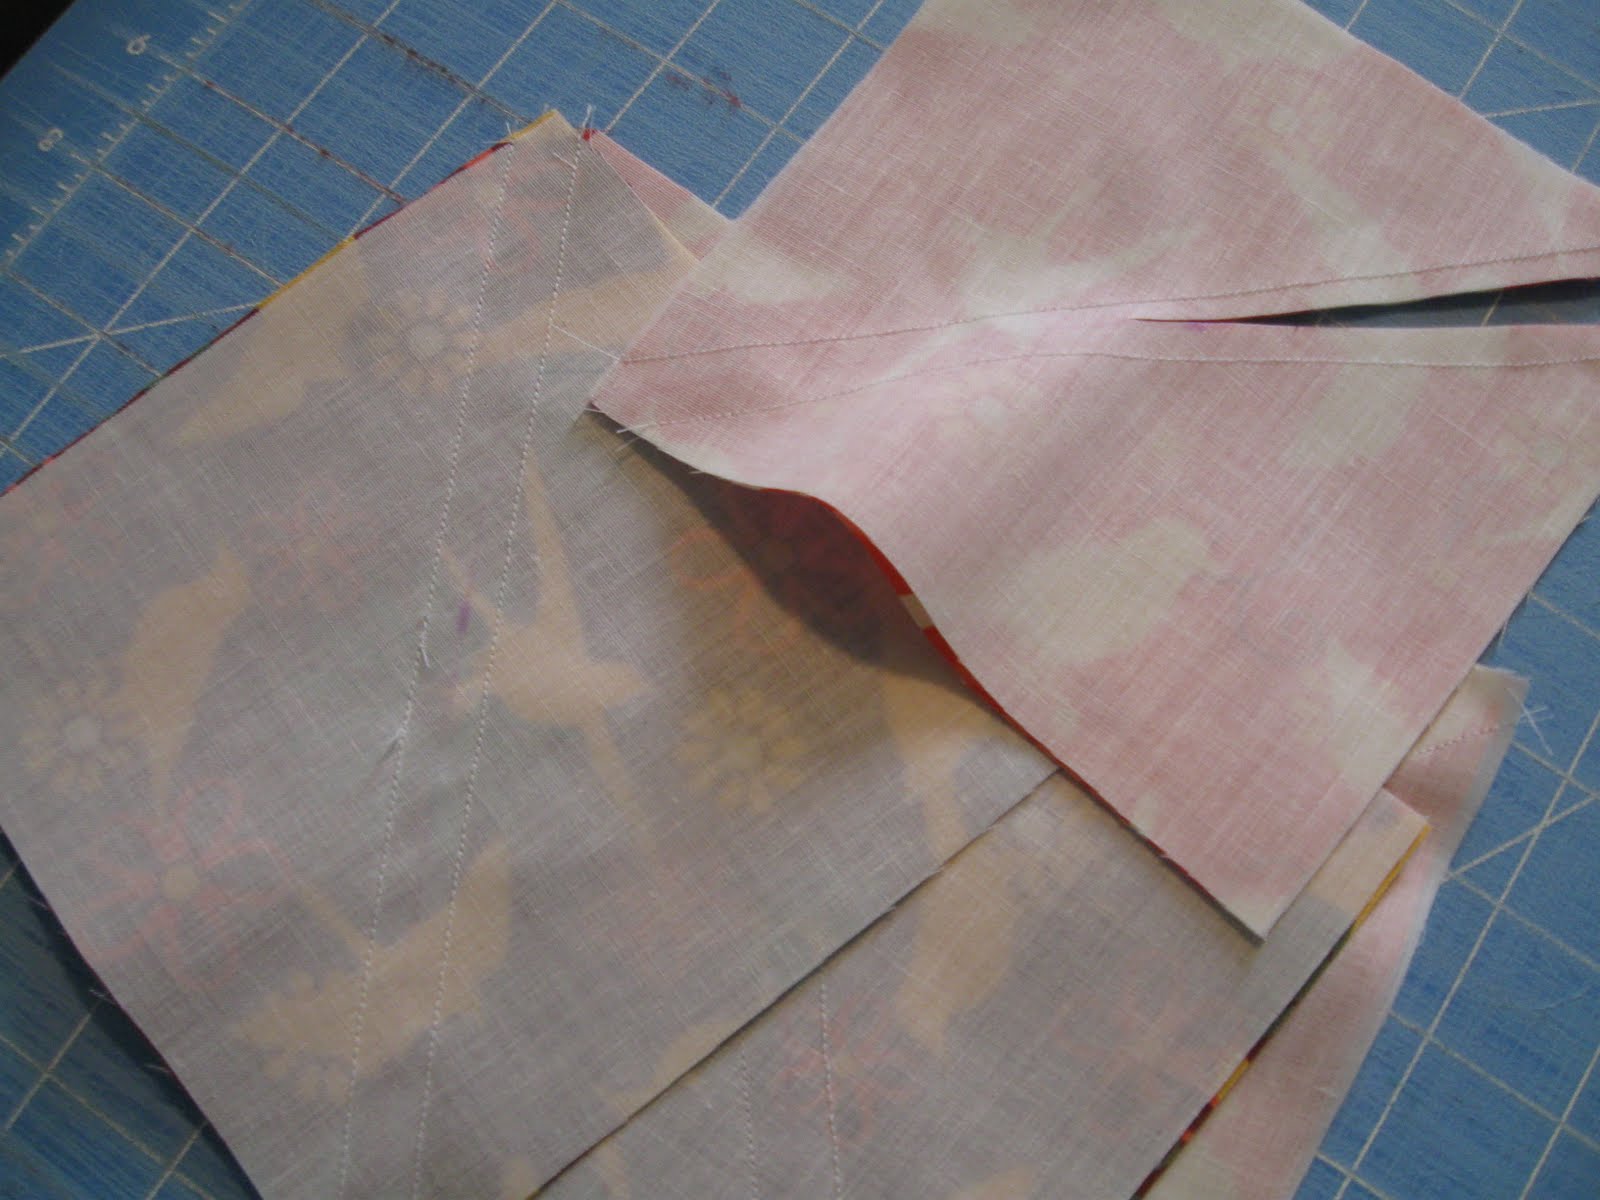
Make your HST by laying the 5 7/8" white squares on top of your print squares and drawing a line on the diagonal. Sew 1/4" on each side of the line and then cut on the line so you now have 10 HST blocks. Trim them up and iron.
 |
| HST trimmed and pressed |
Lay out your four HST blocks like the picture below to make a total of three pinwheel blocks. Sew together using the chain-piecing method.
Now, you have you completed pinwheel blocks. I made two the same and one different so I would have the two in the orange on the ends and the red one in the middle.
 |
| Three pinwheel blocks |
Take your 5 1/4" cuts and lay them out like the picture below. I alternated the prints. Sew them together!
 |
| Rail block layout |
Now, you have your two completed rail fence blocks!
 |
| Completed rail blocks |
|
Take your six 10" long sashing strips and sew them on each side of your pinwheel blocks. Then, sew your blocks together to get this:
Grab your 56" long shashing strips and sew those to the top and bottom of your runner.
 |
| Completed runner top |
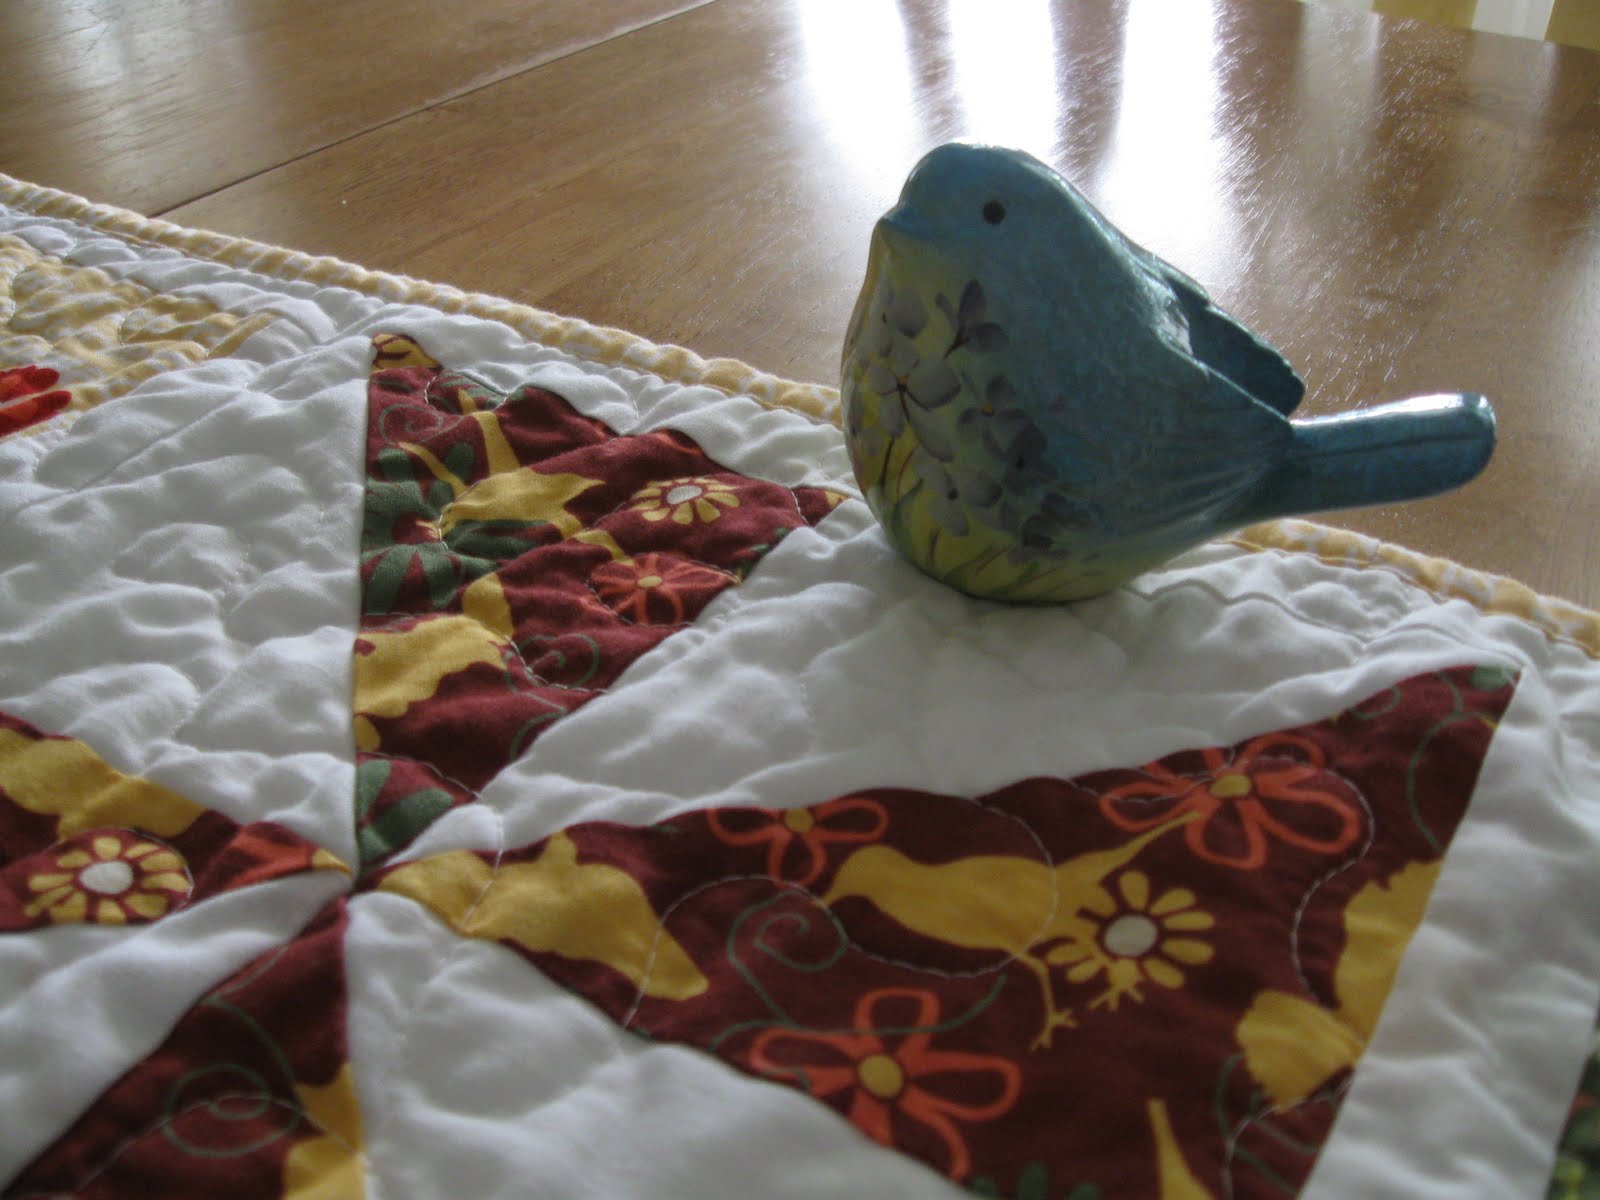
Layer your backing, batting, and top. Baste and quilt! Add your binding. I used the yellow word print from the top of the bird in the garden print.
Enjoy you new lovely spring table runner!!
I know this little birdie will!
Please don't use this tutorial as your own and always link back to this post if you are going to discuss it on your own blog! Thank you! I hope you enjoy it! Let me know if I made any mistakes or if you have any questions in your comments!